
How do I change the coil on my eGo AIO?
0:542:48Joyetech eGo AIO Kit - Coil Change and Overview! - YouTubeYouTubeStart of suggested clipEnd of suggested clipComes in a little package pop it out. I always recommend taking a few drops and putting it down theMoreComes in a little package pop it out. I always recommend taking a few drops and putting it down the center. And then it screws right into there. And then make sure it's nice and tight.
How do I change the coil in my vape?
How to change a coil on a vape: 5 quick steps to change your own coilDisassemble your vape. To change out your coils, you'll need to fully disassemble your vape. ... Empty your tank. ... Pre-soak your new coil's wicking material. ... Swap the coils. ... Replace and refill your tank.
How do I open eGo AIO?
0:282:48Joyetech eGo AIO - Three Minute How To - YouTubeYouTubeStart of suggested clipEnd of suggested clipThis is your ego IO. And when the battery is built into the bottom. And the tank is avatar to accessMoreThis is your ego IO. And when the battery is built into the bottom. And the tank is avatar to access the tank and will push down on the top and twist anti-clockwise.
Why does my eGo AIO taste burnt?
If your Joyetech eGo AIO Kit is producing a burnt taste, this almost always means the wicking material inside the coil head has burnt due to lack of e-liquid.
What happens if you dont change vape coil?
If you don't change your coil when it needs it, your vape juice will start to taste burnt. If it wears out, it will start to leak – you'll usually have changed it long before then.Aug 20, 2019
How do I know when to replace the coil in my vape?
5 Signs That Your Coil Needs ReplacingBurnt Taste. The first and most prominent way to tell your coil needs changing is by experiencing an unpleasant burning taste in your vape.Bubbling Noise. In this case, your device is literally telling you to change the coil. ... Weak Flavour. ... Little Vapour. ... Leaking Device.
What coils does the eGo AIO use?
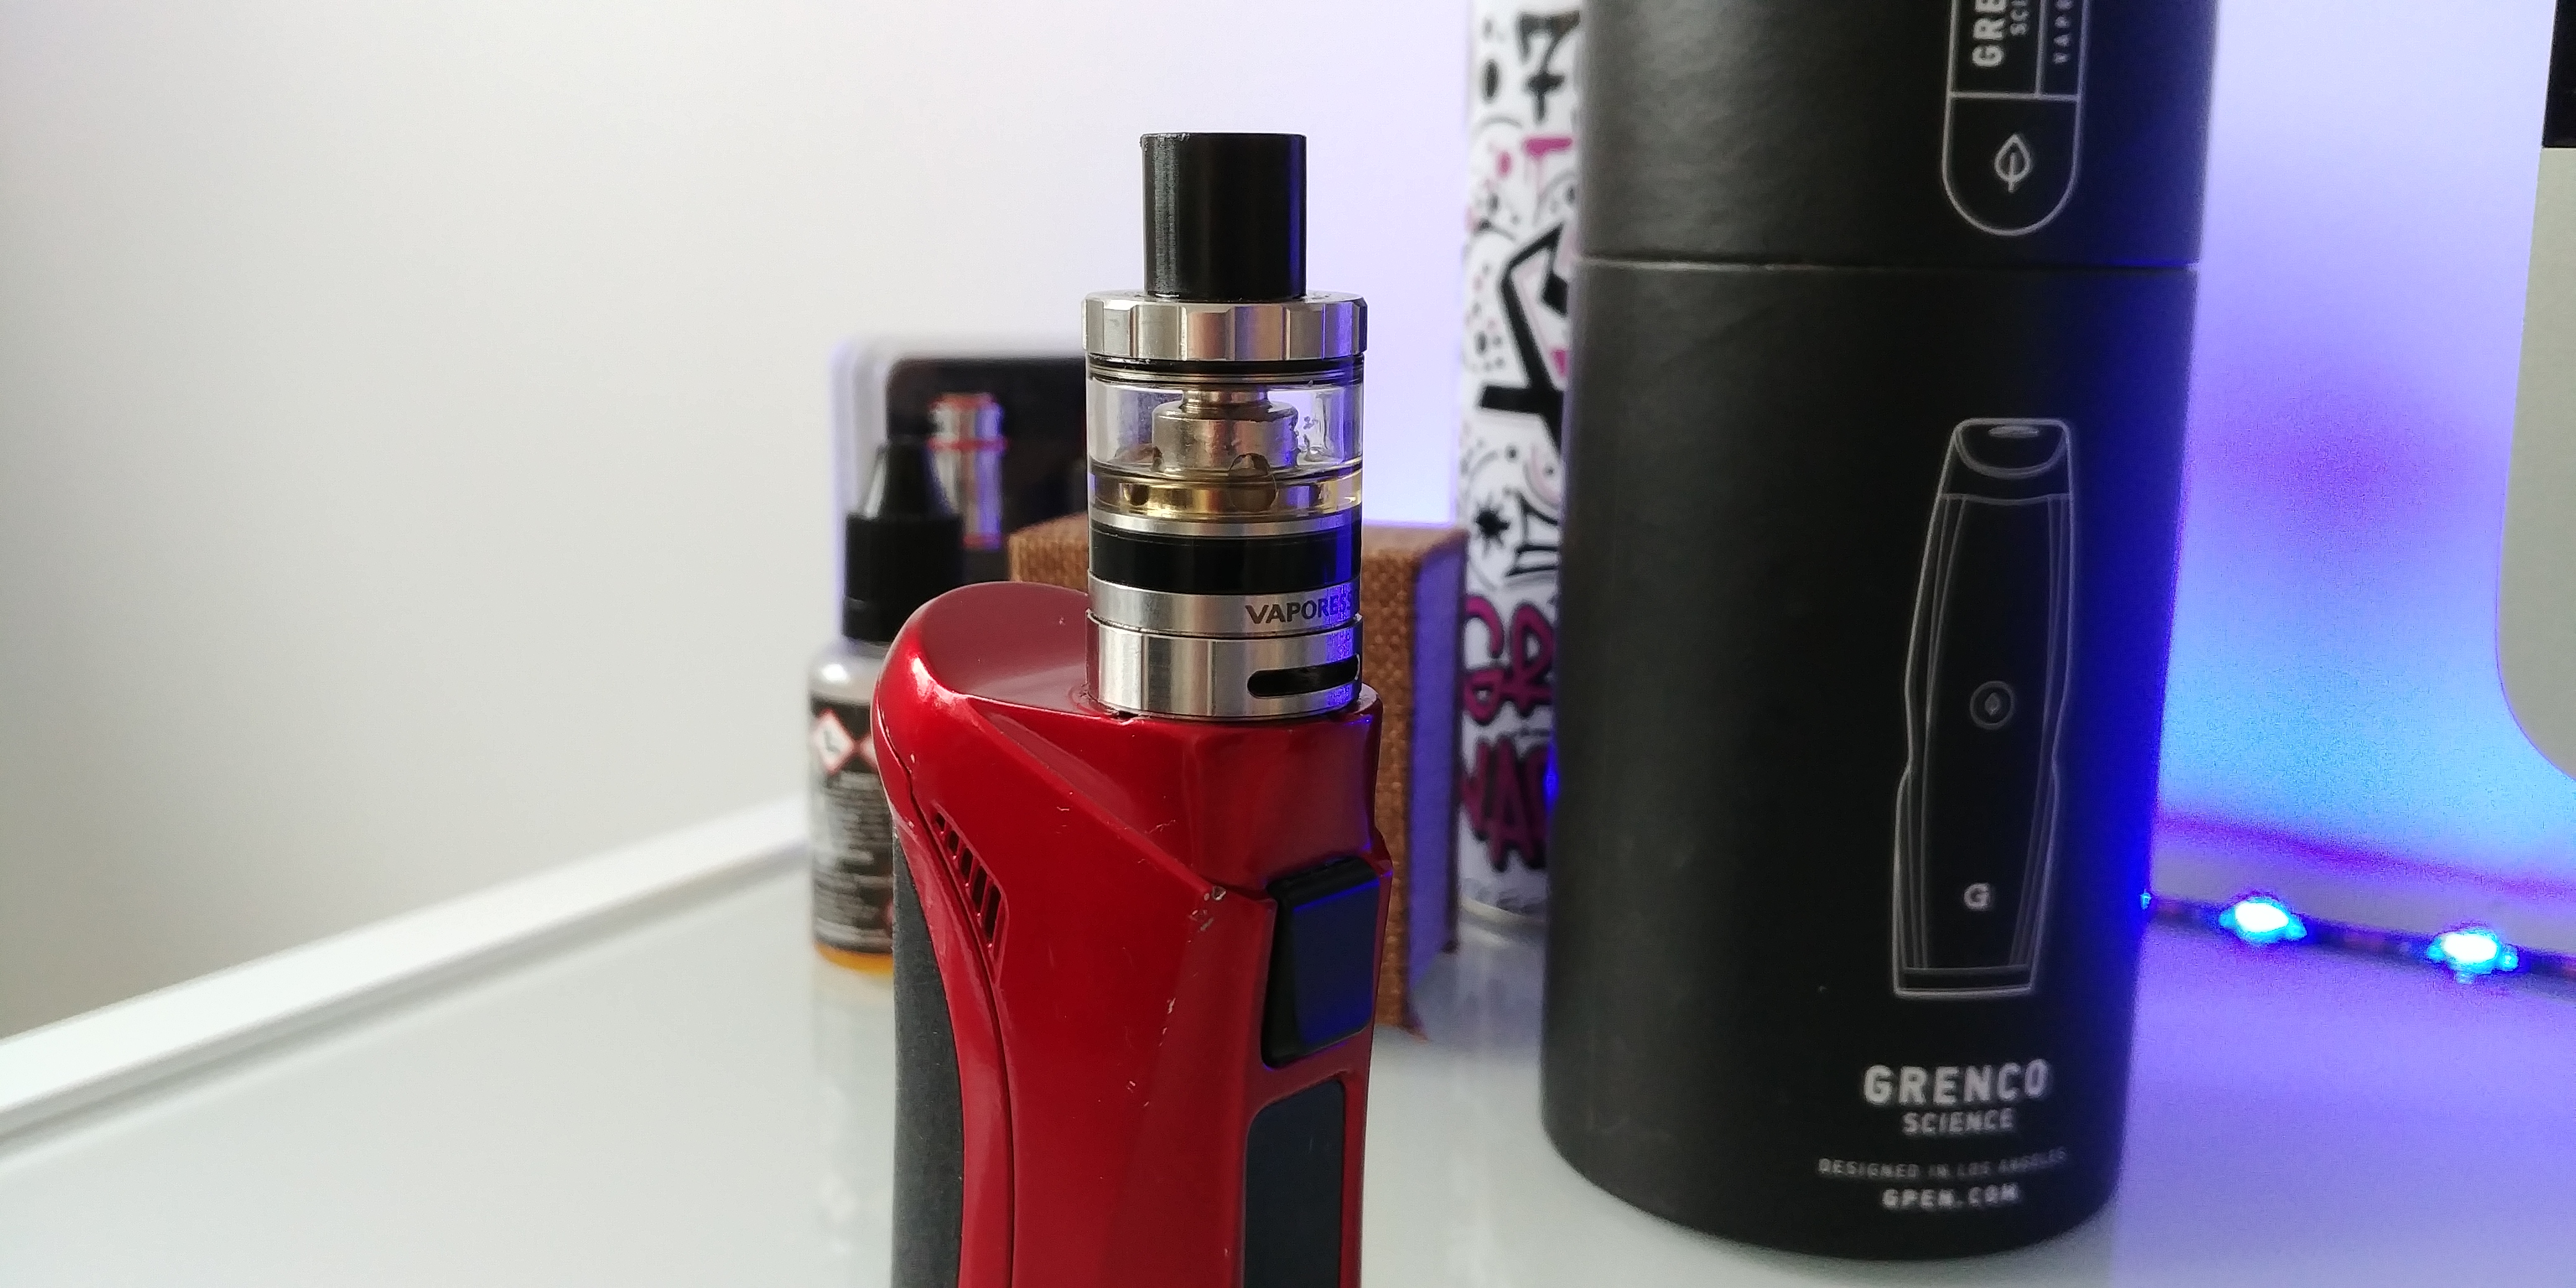
The Joyetech Ego AIO uses the same coil heads as the Cubis. All of these coil head swill work on the Ego AIO. The kit itself comes with two 0.6ohm SS coil heads. Coil heads available for the Joyetech Ego AIO and the Joyetech Cubis tank: 1.5ohm Clapton (MTL), 1ohm SS 316, 0.6ohm SS 316, 0.5ohm SS 316 and 0.2ohm Ni200.Apr 9, 2016
How do I prime my eGo AIO coil?
0:041:26How To Prime And Fill Joyetech eGo AIO Vape Kit | Vaporleaf - YouTubeYouTubeStart of suggested clipEnd of suggested clipCenter hole. Apply enough juice wait for it to saturate. Apply a little more juice and keep doingMoreCenter hole. Apply enough juice wait for it to saturate. Apply a little more juice and keep doing that until it stops soaking up the juice.
How do you use an all in one vape?
How to use an AIOPrime the coil with a few drops of e-liquid.Place it in the tank (or pod)Fill it.Let the coil saturate.Set the airflow (if it is adjustable)Press the button and vape.Mar 11, 2022
Can you fix burnt coils?
Can you fix a burnt coil? Though burnt coils are best to be replaced as soon as possible, the good news is that you can get a little extra life from them whilst you wait for your new coils to arrive. First thing's first, remove your coils from your e-cig and let them soak in a bowl of hot water to loosen any residue.Jul 16, 2021
How long should I let my new coil soak?
– 10 minutesIt is a simple process and can save you burning your coil and wick when you first install your new atomizer. Simply add a few drops of e-liquid onto the wicking material of your atomizer head before you install it into your tank. Then after filling your tank leave it to soak for 5 – 10 minutes.
Why does my vape crackle?
When inhaling on your device, vape juice is drawn into the coil. It is then the coils job to heat up the e-liquid and turn it into vapour. Like with most liquid when it is heated rapidly it will make a crackling noise as it turns into vapour.Jul 20, 2021
How to Replace a Vape Coil
There are two types of vapes available in the market, the pre-filled ones and the refillable ones. The latter one is the more preferred one since you can enjoy different flavors rather than just the one a pre-filled one comes with.
All about a Vape Coil
Vape Coils comprise a wire and a wick that is contained inside the mod’s cartridge. Coils are regularly made of wire with high resistance that is covered by cotton in fiberglass or synthetic foam at times. The wick absorbs the e-Juice resulting in the coil heating up the wick.
How often should you change the vape coil?
A vape coil doesn’t keep going long, generally somewhere in the range of a week to a month relying upon how regularly you use your e-liquid and what your degree of nicotine reliance is. If you do not change your coil on time, it can lead to various problems with the device s well as the vaping experience
3 easy steps to replace the Vape Coil
The replacement for any kind of vape begins with priming the coil so you don’t burn it. Introducing the coil with the wick currently wet helps in guaranteeing that the coil will rapidly retain e-liquid from the tank and will not have any dry pockets that might burn. Priming is essential regardless of the type of vaping gadget you own.
Test the vape
Once you have replaced the coil and put the device together, you are pretty much done with the whole coil replacing procedure. However, you need to test if everything is working okay. In case you find some issues like spillage or keep burning, cautiously repeat the process.
Coil Material
The material of the coil matters a lot so when you’re replacing it make sure to get the one that works the best for you. It can be ceramic, titanium, nickel, nichrome, stainless steel kanthal, etc. Each of these affects flavor and cloud creation.
How to take off a vape coil?
The coil is also called an “atomizer head” or “replacement head.”. You can use your hands or a paper towel to take off the coil. Twist the coil counterclockwise until it comes off of the bottom of your vape. A paper towel will help keep your hands clean.
How to get rid of burns in vape coil?
1. Pre-saturate your coil with 5-8 drops of vape juice. The cotton in your coil is brand new when you take it out of the package. If you place it directly onto your vape, it will start to burn. To avoid this, drip about 5 or so drops across the cotton from the vape juice bottle.
How to get vape juice out of tank?
If there’s any vape juice still in your tank, dump it out. Next, unscrew the co il from the base of the vape by twisting it counterclockwise. Pre-saturate your new coil with 5 to 8 drops of vape juice so it won’t burn, then screw your new coil into place.
How to unscrew a vape tank?
Every vape setup is slightly different, but in general, you can easily unscrew the tank from the bottom section. Hold the tank upside down and twist the tank off using your hands. If there is juice in your tank already, you can use a paper towel to avoid getting your hands greasy.
Why does my coil clog up?
If it has a burnt aftertaste or if the flavor seems sour, it is time to change your coil. Over time the juice starts to clog up the coil. If you use sweet, sugary juices, they may clog up your coil more easily. The sweetener essentially caramelizes on the coil as it heats up.
Can you use more or less juice in a vape?
Use more or less juice, depending on the size of your coil. Make sure the coil you purchase is the right coil for your vape. Read your instructions to determine the type of coil or bring your tank to a local vape store.
Can you replace a vape coil with fresh juice?
If there is any vape juice still in your tank, dump it out in your trash can. This way, you can replace it with fresh juice after you put on a fresh coil. It is helpful to replace your coil with as little vape juice remaining as possible.
How to replace coils in a vape?
Step One: Empty out your vape tank if necessary. Step Two: Unscrew the base from your tank. Step Three: Unscrew your coil, then separate the top portion of your tank so you can replace your coil. Step Four: Attach your new coil to your tank, then re-attach your atomizer parts in the reverse order you took them apart.
How long does a vape coil last?
The answer to this varies depending on how frequently you vape, but typically, the average lifespan of a coil is around two weeks (this can depend on a variety of aspects!).
How to change clearomizer coil?
Step One: Invert your clearomizer so it is upside-down. Step Two: Unscrew your base and atomizer head from the bottom. The stem will remain intact inside your clearomizer. Step Three: Screw on your new coil, and reattach the base and head in the reverse order you took them apart.
What is a top coil clearomizer?
Top coil clearomizers are perfect for vape wizards seeking a cloud chasing experience that provides warm, flavorful vapor and thick, vibrant clouds. Replacing a top coil clearomizer is quick and easy; once you learn the proper steps required to change out the coil, you’ll be able to perform the task in a flash.
How to disassemble a top coil clearomizer?
Step One: Begin by emptying out your tank. When disassembling a top coil clearomizer, the stem of the atomizer comes out along with the base and atomizer head, so starting with an empty tank ensures that you’re able to access the coil quickly and efficiently. Step Two: Next, unscrew the base and coil head. If done properly, the stem should come out ...
What is a multiple coil atomizer?
Multiple coil atomizers are great for those seeking a lavish, extra-indulgent vape experience. Changing the coils for this type of atomizer is much like changing the coils for any other atomizer, except you’ll be changing multiple coils instead of just replacing one.
What is the difference between a top coil and a bottom coil clearomizer?
Top coil clearomizers are filled from the top and result in warm, flavorful vapor. Bottom coil clearomizers are a bit harder to fill since the juice can’t be inserted from the top, but are undoubtedly worth the extra effort: they provide a unique throat hit that provides cool vapor of the highest quality.
How long does a sub ohm atomizer last?
Changing your Sub Ohm Atomizer: Your atomizer coils have an average lifespan between 5 - 15 days, and depending on your vaping habits this could be longer or shorter. When the atomizer coil wears down, it may begin to leak, taste burnt or be hard to draw from. To change your atomizer coil: 1. Hold the tank upside down. 2.
What is a sub ohm atomizer?
Specifically designed for the eGo ONE clearomizer tank, these Sub Ohm atomizers are made with organic cotton to provide full flavor, optimal performance and mass amounts of vapor production with every draw! For customability, we offer them in two ohms: The 1.0 ohm atomizer will offer a tighter draw much like taking a drag off a real cigarette. The 0.5 ohm atomizer provides a looser draw and more vapor production for cloud chasing enthusiasts :-)
How to charge eGo ONE?
Flashes in frequency. Charging. Simply charge eGo ONE by connecting it with a computer or a wall adapter via USB cable. The battery light flashes red when charging or connecting with USB, and goes out in five seconds when it is fully charged.
What is an Ego One?
Petite yet powerful , eGo ONE is the One device for everyone. Adhering to this concept, eGo ONE stands out from different kinds of e-cig products by using two types of changeable atomizer head to cater for different vaping methods: mouth inhale, mouth to lung inhale or direct lung inhale. Also there are two types of battery for you to choose: 1100mah and 2200mah.
How to use a vaporizer on a vaporizer?
1. Uninstall the mouthpiece and glass tube. 2. The atomizer head is located right on the base. Always drip a few drops of e-liquid into the head before use to get it soaked. 3. Screw the tube back onto the base tightly. 4. Fill the e-liquid into the tube directly.
How to change atomizer head?
Change the atomizer head: When you’re in need to change the atomizer head, empty the e-liquid first to avoid leaking into the base. (Clean it in time when there’s e-liquid on it) Put the device upside down, remove the mouthpiece and glass tube. Replace the head with a new one and install it onto the base tightly.